National Oilheat Research Alliance 19
• The potential for damage from vandalism,
vehicles or weather is greatly
reduced
• Indoor tanks are usually accessible for
inspection. Often, when an indoor tank
is in the infancy stages of failure, fuel
odors can be noticed as the tank becomes
slightly porous.
Did you know?
Ø Indoor tanks should be installed on the lowest
floor of the building.
Ø Tanks should be installed in areas where they
will not be affected by household activities
Ø A full 275 gallon tanks weighs over 2,000
pounds
Ø NFPA requires tanks in flood prone areas be
anchored. See NORA's Recommended Practice
for Home Heating Oil Tank Flood Resistance at
the end of this book in Appendix II.
Ø Drip pans are available for installation beneath
indoor tanks to contain small drips from
valves or fittings, filter replacement, etc.
Indoor Installation Considerations
Standard Steel Tank
Tank site — Indoor tanks should be installed
on a poured concrete floor. If a poured concrete
floor is not present, a 6" reinforced concrete
slab is recommended.
Clearances — The tank must be at least 5'
from any open flame or fuel burning appliance.
There should be no storage either above or
below the tank and it should be placed at least
2" from walls to allow visual inspection from
all sides.
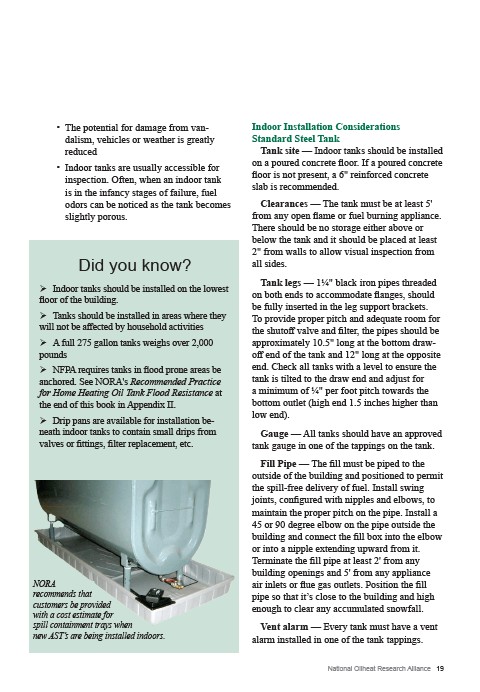
Tank legs — 1¼" black iron pipes threaded
on both ends to accommodate flanges, should
be fully inserted in the leg support brackets.
To provide proper pitch and adequate room for
the shutoff valve and filter, the pipes should be
approximately 10.5" long at the bottom draw-
off end of the tank and 12" long at the opposite
end. Check all tanks with a level to ensure the
tank is tilted to the draw end and adjust for
a minimum of ¼" per foot pitch towards the
bottom outlet (high end 1.5 inches higher than
low end).
Gauge — All tanks should have an approved
tank gauge in one of the tappings on the tank.
Fill Pipe — The fill must be piped to the
outside of the building and positioned to permit
the spill-free delivery of fuel. Install swing
joints, configured with nipples and elbows, to
maintain the proper pitch on the pipe. Install a
45 or 90 degree elbow on the pipe outside the
building and connect the fill box into the elbow
or into a nipple extending upward from it.
Terminate the fill pipe at least 2' from any
building openings and 5' from any appliance
air inlets or flue gas outlets. Position the fill
pipe so that it’s close to the building and high
enough to clear any accumulated snowfall.
Vent alarm — Every tank must have a vent
alarm installed in one of the tank tappings.
NORA
recommends that
customers be provided
with a cost estimate for
spill containment trays when
new AST’s are being installed indoors.